|
After spending months as a UFO (that's quiltspeak for Un-Finished Object), my Lost Ships quilt has finally re-emerged to be quilted. |
It couldn't be too complicated; this quilt has been in progress long enough, and I really want it finished soon. Even so, I'm not ready to settle for something boring for the sake of hand-quilting speed.
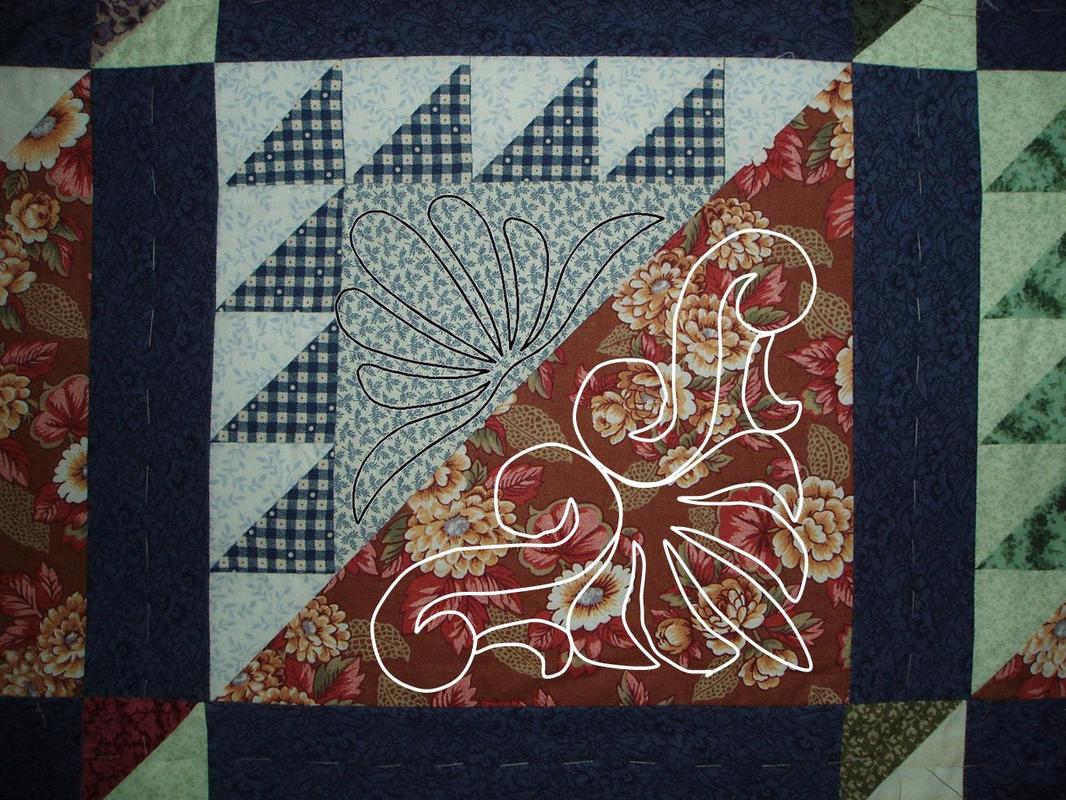
The Lost Ships block has two triangular areas of different sizes to quilt, and I wanted those designs to be related, but not identical (because that would be boring). The design also had to fit the Lost Ships theme (because I said so).
Most importantly, the design had to be template-friendly. That is, it had to be adaptable to my stencil-free approach to quilt marking.
Using a stencil is a great way to mark a quilt. Stencils are available for lots of beautiful quilting designs from online vendors like quiltingstencils.com. The problem is that I never seem to find what I want in exactly the right size. Sure, you can cut your own stencils. I've done that. Frankly, it's a job that always finds me clenching my teeth and muttering, "There's got to be a better way!"
Finally, I discovered a better way. Unlike stencils, where the quilting lines are cut as narrow channels in the background matrix (tricky to plan and difficult to cut), my template method uses solid shapes (ultra-easy to cut).
Plus, because templates are a "trace-around" tool, they need to be somewhat rigid, but unlike stencils, they don't need to be thin. That means you don't need that pricey mylar material for your templates. Any card-stock will do. A panel from an empty cereal box will do very well, as my grandmother taught me. (My Scottish great-grandmother would approve.)
Let me demonstrate.
For the Lost Ships quilt, I decided on a pair of shell motifs, one quite simple, the other a bit elaborated.
|
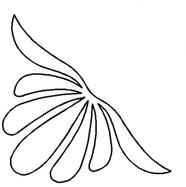
The shell motif for the smaller triangle (at right) was simple enough to cut as a template. Despite its multiple lobes, it can be cut along all its lines, and remain intact as a single shape. Marking a quilt with this template will be a straight-forward matter of tracing around the outside edges of the cut-out template.
|
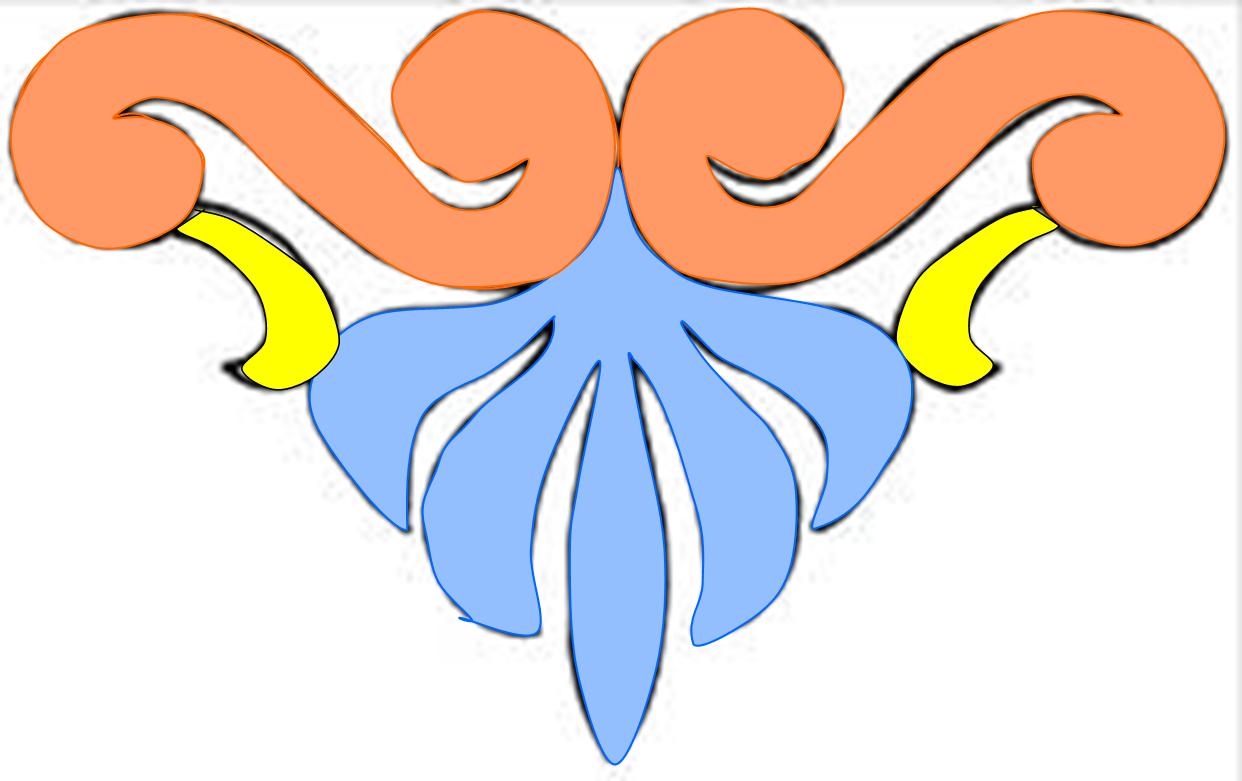
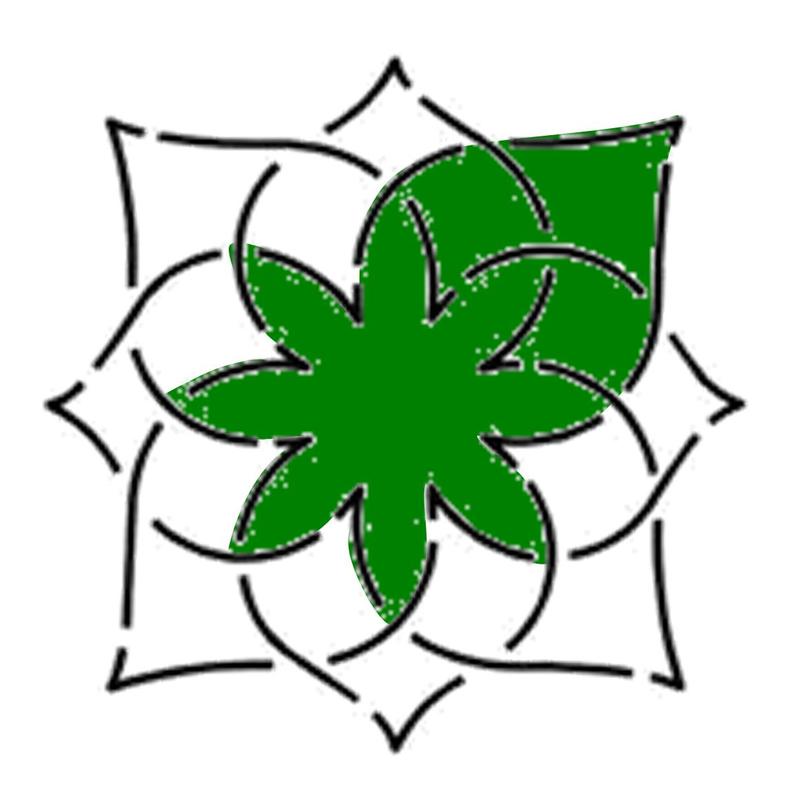
Instead, the design can be rendered with 3 overlapping templates. The first is the overall outline of the design, and serves to mark the boundaries of the other two, which are rotated to cover the 4 sides and 4 corners, respectively. The overall outline template isn't strictly required, but it helps with visualizing the process. It's also handy for aligning the rotating shapes.
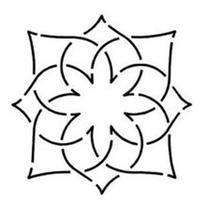
Not every quilting design will lend itself readily to the template method. Spiraling lines are particularly template-resistant. But once you learn to look for the solid shapes within a design, marking with templates is a breeze.





 RSS Feed